
Are you applying for the SSP scholarship this year? Then there’s a chance your application will require approval for two steps: E-KYC and e-Attestation.
Many students confuse the two. Some believe them to be the same. Some do not know the different portals to access for them.
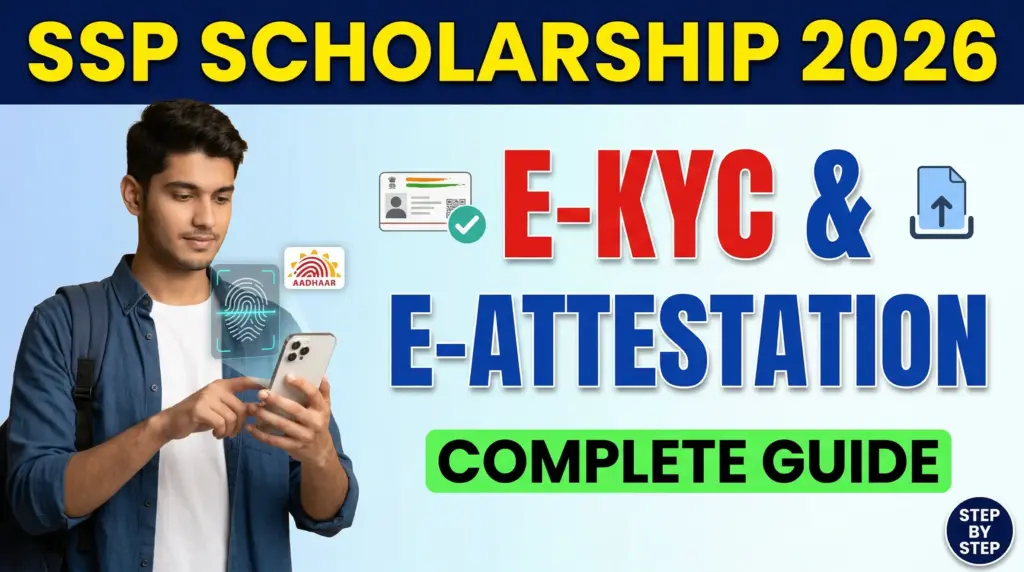
This article will tell you exactly how to perform eKYC in SSP and complete your SSP e-attestation for 2025-26 without any mistakes.
Table of Contents
What is E-KYC in the SSP Scholarship?
E-KYC stands for Electronic Know Your Customer. It’s an electronic method of verification using an Aadhaar card.
So, while eKYC for SSP essentially verifies your existence, gets your photo from the Aadhaar registered photo library, and links your Aadhaar to the scholarship management system.
This ensures that no one applies under false pretenses and that when the funds are allocated to the bank account, they reach the correct place through Direct Benefit Transfer, or DBT.
E-KYC in SSP must be completed by every student prior to application. There are no exceptions; if this step isn’t complete, you cannot move on with the application process.
How to Do E-KYC?
Let me guide you through the complete eKYC in SSP process.
Step 1: Login to SSP Portal
Open the portal based on your category to begin.
For Pre-Matric Students (Class 1-10): https://ssp.postmatric.karnataka.gov.in > Click Pre-Matric Login
For Post-Matric Students (Class 11 and above): https://ssp.postmatric.karnataka.gov.in > Click Post-Matric Login

Now enter your User ID in the username section. Then enter your password. Enter the captcha code visible on your screen. Click on the Login button.
Step 2: Find E-KYC Option
Once you successfully log in, a popup will appear on your dashboard. The message will state, “You need to complete your Aadhaar E-KYC to capture your photograph.”
You have to click on the “Click for E-KYC” button shown in the popup.

In case the popup doesn’t appear, please search for the E-KYC option from your dashboard. It will be easily visible.
Step 3: Enter Aadhaar Number
Once you click it, the system will redirect you to the Centre for e-Governance.

Now enter your 12-digit Aadhaar number carefully. Don’t have any spaces or wrong digits. Submit only after double-checking.
Step 4: Verify with OTP
Wait a bit, and in 1-2 minutes, you’ll receive a 6-digit OTP on your registered mobile number linked with your Aadhaar.

Enter that OTP in the given box. Click Submit.
Important: The OTP will expire 10 minutes after generation. In case it expires, simply request a new OTP.
Step 5: Confirm Your Photo
After OTP verification, now on the screen, your Aadhaar photo will be visible.
Look at your photo very carefully. If you find that it is correct and matches exactly with your current look, please tick the checkbox mentioned, “Displayed Photo is Correct.”

Finally, click on the Save button.
That’s it! Your eKYC for SSP is complete now. The system has captured your Aadhaar photo for future verification.
Note: If the photo does not match or is of someone else, DO NOT CONTINUE. If so, stop here and read the section below for error resolutions.
What is e-Attestation for SSP?
E-Attestation is the online attestation of your educational documents. It is essentially online verification and approval of your certificates.
The process of SSP e-attestation involves submitting your mark cards and certificates on the e-attestation portal and having your nodal officer in your college view them. If everything is in order, he will approve the same online.
Once approved, you will receive an e-Attestation ID that is crucial for filling in the final scholarship application form.
The e-attestation SSP is different from the SSP student login page. Students log in to the e-attestation at eattestation.ssp.karnataka.gov.in for document approval and authentication.
How to e-Attest
After E-KYC, post-matric students (non-exempted courses) have to complete SSP e-attestation 2025-26. The complete process is as follows:
Step 1: Open e-Attestation Portal
Open a new tab in your browser.
Enter the link: eattestation.ssp.karnataka.gov.in. This is the e-attestation portal of the Karnataka government.
Step 2: Login
Now, enter your SSP ID & password to log in. Your same credentials for the main SSP portal will work here as well.

Once you log in, you’ll see that the data entered in your SSP application has been pre-filled for you.
Step 3: Confirm Your Data
You now have to check all details given on the screen:
- Full Name
- Course Name
- College Name
- Academic Year
- Mobile Number
- Email ID

If all data is correct, you have to click on the “Confirm & Proceed” button.
If not, then stop here. Go back to your main SSP portal and update your details there first. Only then, come back to e-attestation SSP.
Step 4: Upload Documents
You will see a menu bar with a lot of options now.
Choose the option that says “Upload E-Attestation Documents.” A drop-down of various document types will appear. These are the document types eligible for uploading.

You have to select one of those. These include:
- SSLC Marks Card
- PUC Marks Card (if applicable)
- Previous Year Marks Sheet
- Bonafide Certificate
- Fee Receipt
- Income Certificate
- Caste Certificate
Once you select the document type, you have to enter the details of the document:
- Registration number
- Year of Issuance
- Certificate No. (if any)

Now, click on the “Choose File” button.
You can upload your document either from your computer or from your phone.
Note regarding documents:
- Documents must be in PDF format only (no JPG, PNG, or others allowed).
- Document size must be less than 200 KB.
- Clear scanned copies only
- No cut-off corners from the document
Upload all the documents like this one, one by one.
Once done, you will see a button that states “Submit All.” Click on that.
Step 5: Physical Verification by Officer
This part is something that a lot of students forget to do.
Next, you have to visit your college’s e-Attestation Officer with the original documents.
The officer must ensure that your uploaded documents are the same as the originals. This step will typically occur on your college’s campus.
Step 6: Get Your e-Attestation ID
Once the officer approves your documents, they’ll make sure they’re attested in the system.
The end result you get is an e-Attestation ID, which is something like SSP/2025/ATT/12345. Make sure to save this ID at this point. Make a note of it or screenshot it.
Step 7: Track Your Status
You can also check your document status at any time. Log in to the e-attestation portal, and the following sections exist:
Pending Documents: Documents that are pending for officer verification. You can see the details of the officer here.
Approved Documents: Documents that have been verified. Your e-Attestation ID will show up here. Note it down.
Rejected Documents: Documents that have been rejected and the reason why. Fix the issue and upload it again.
Frequently Asked Questions (FAQ’s)
Will I need to complete both E-KYC and e-Attestation?
E-KYC is a mandatory requirement for all students. e-Attestation is required only for post-matric students.
How long does it take to complete SSP E-KYC and e-Attestation?
E-KYC takes 5 to 10 minutes. e-Attestation takes 3 to 7 days usually.
I completed SSP E-KYC but got the NPCI Not Mapped error. What does it mean?
Go to your bank and ask them to map your Aadhaar with NPCI. It usually takes 4-5 days. This must be done on the bank’s side.
Where can I find my e-Attestation ID after it gets approved by the Nodal Officer?
On the SSP e-Attestation portal under the Approved Documents section.
Can I do E-KYC if my mobile number is not linked to my Aadhaar card?
No, you need to have your mobile number linked, as OTP verification is mandatory.
Leave a Reply